Add a new channel
Last updated: 27 September 2026 · 5 min read
Each channel (a WhatsApp number, an Instagram account, an email mailbox, a website chat) is a separate inbox in the dashboard. An administrator connects channels. The number of channels is limited by your plan: if the limit is reached, no new channel can be created.
Steps
-
1
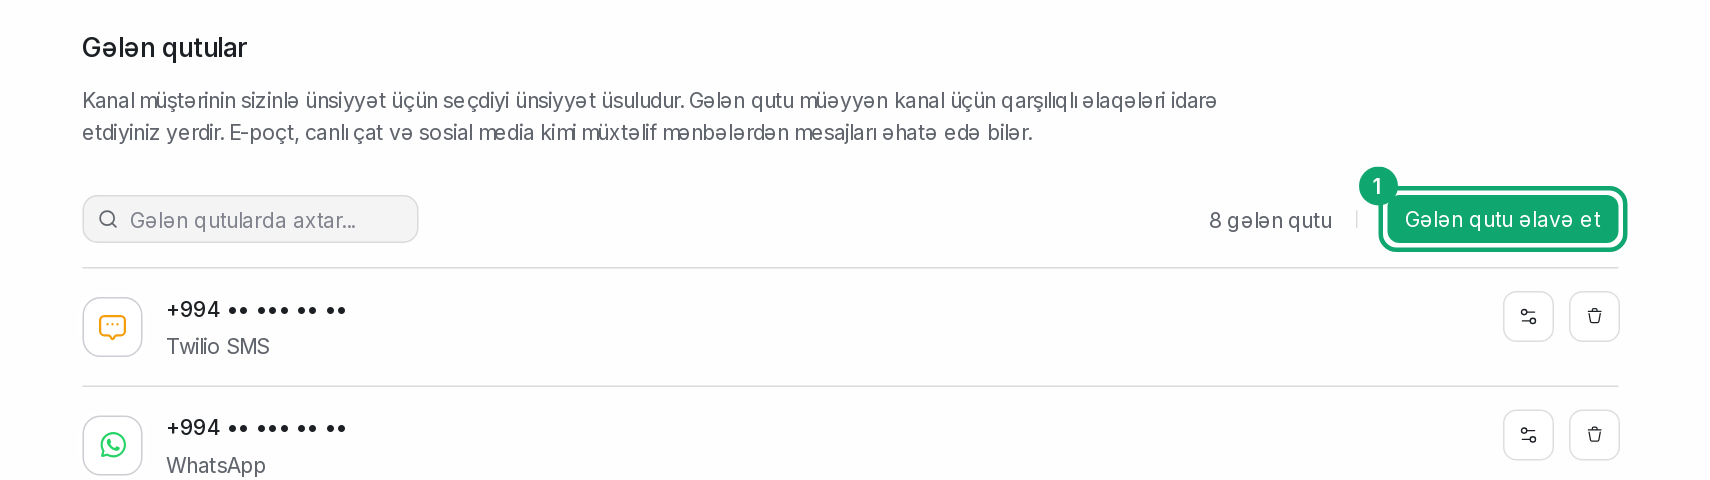
Click Add Inbox
On Settings › Workspace settings › Inboxes, click “Add Inbox”.
-
2
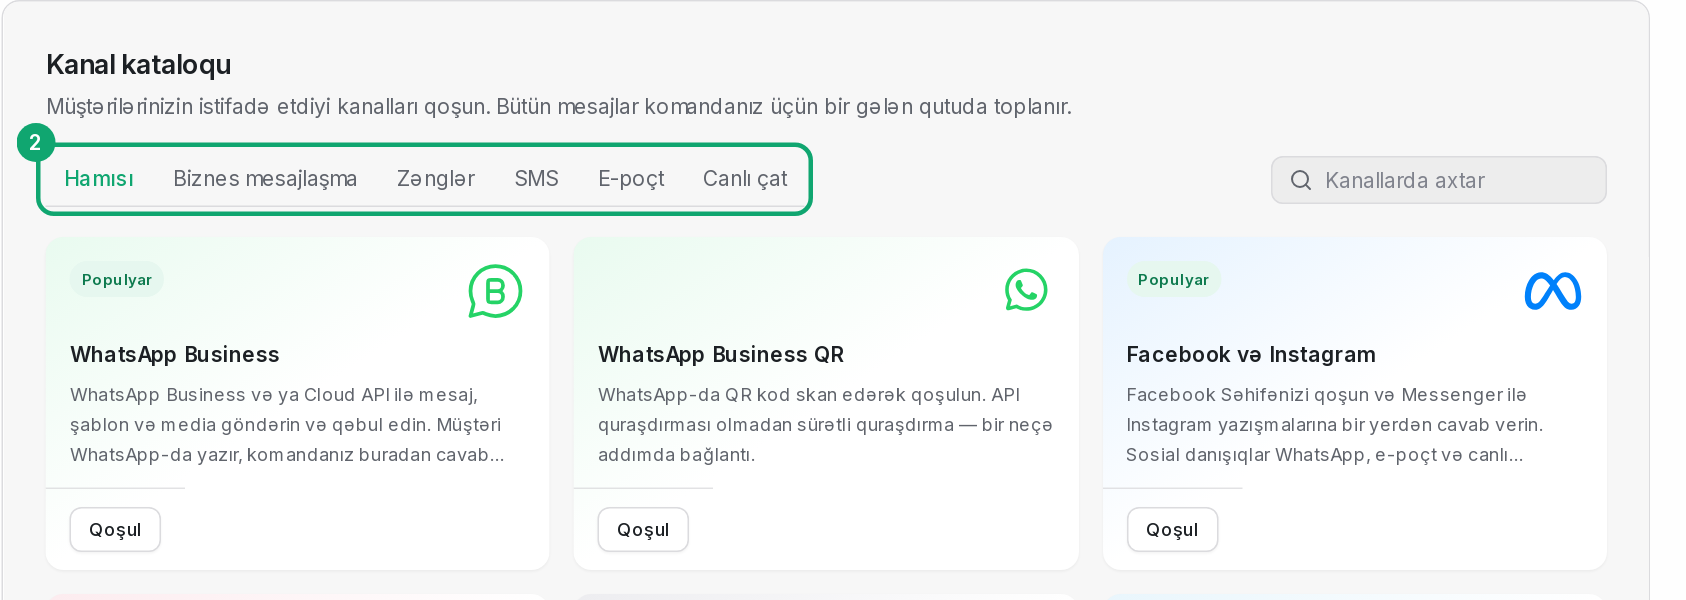
Choose the channel from the catalog
The “Channel catalog” opens. Click “Connect” on the card you need. The sections at the top (Business messaging, Calls, SMS, Email, Live chat) and the search help you find a channel quickly.
-
3
Follow the channel's own steps
Each channel connects in its own way. For Instagram and Facebook you sign in with your Meta account, for Gmail with your Google account. For WhatsApp Business QR you scan a QR code with your phone.
-
4
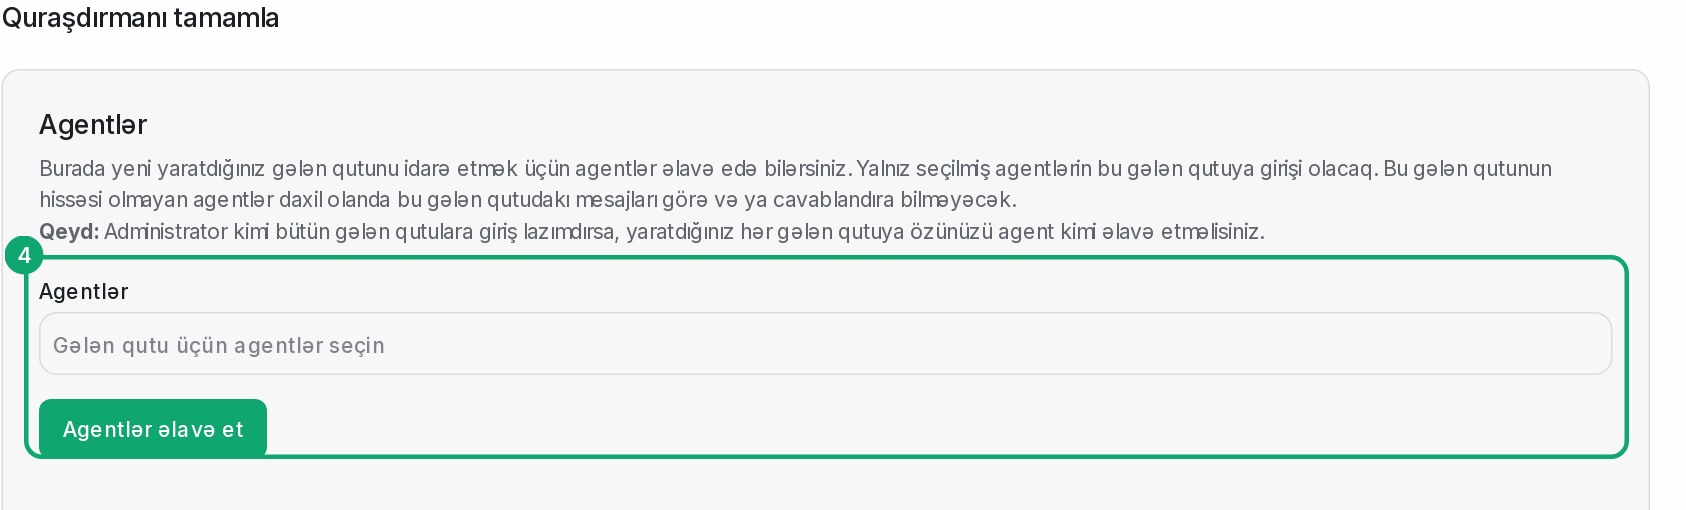
Choose agents
In the “Agents” step, pick the team members who will see this channel's conversations and click “Add agents”. An agent who isn't picked doesn't see this channel's messages. If you want to see every channel as an administrator, add yourself too.
-
5
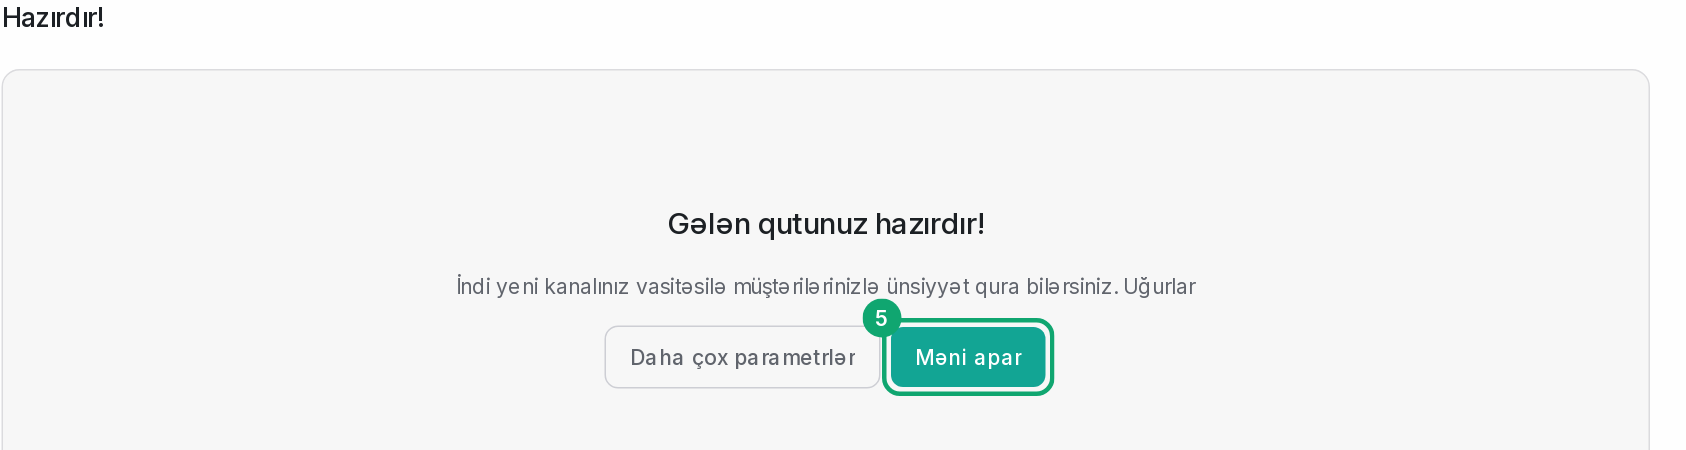
The channel is ready
When “Your Inbox is ready!” appears, click “Take me there” to go to the conversations. “More settings” opens the channel's settings.